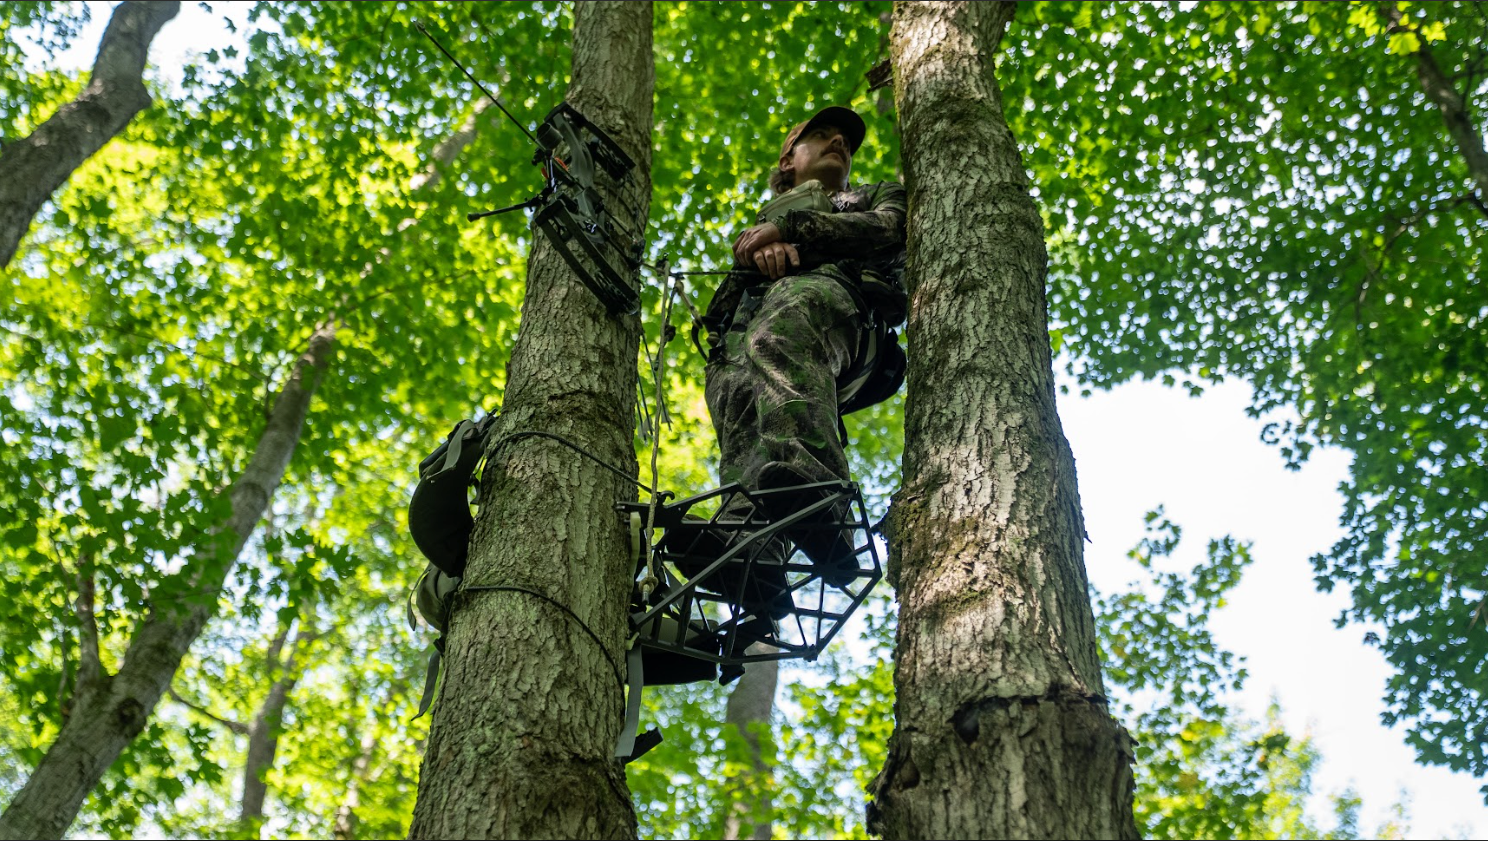
Article by: Beau Martonik, East Meets West Outdoors
I’ve been saddle hunting since 2019 and hunting mobile since I was a kid—everything from climbers and hang-ons to saddles and mix-and-match systems. For the places I hunt in Pennsylvania (and out-of-state), a saddle has been the most efficient tool in my kit. Tool is the key word: it isn’t the end-all be-all, but it’s the right solution a lot of the time for me.
Below is my complete 2025 mobile setup, how I pack it, and exactly how I climb and get settled—plus quick links to the Timber Ninja gear I’m running.
The Saddle: Timber Ninja Duel (New Two-Panel)
I’m running the Timber Ninja Duel—our new two-panel saddle that shares the same padded chassis and comfort profile as the Ultimate. I added the Amsteel Slide Lock Stick and Platform Haulers to carry my sticks up on the side of the saddle
-
Same padded two-panel design and chassis as the Ultimate
-
Drops a few extras (magnetic stick clips, mud-flap stick carrier, removable buckles) to reduce cost and bulk—comfort stays the same
-
Magnetic waist belt locks in and stays put while hiking
-
MOLLE around the top for modular pouches
-
Integrated rear platform holder with magnets: blind attachment and one-hand removal
Shop: Timber Ninja Duel Saddle
Pouches & What’s Inside
I swapped to our quieter Ninja Max fabric on the pouches—still highly water-resistant zips, but quieter and stretchier.
-
Right Ridge Pouch → 8mm lineman’s rope (girth-hitched to the lineman loops) + 8mm tether with a Kong Duck
Shop: Ridge Pouch -
Dump Pouch / Bottle Pouch → bow rope + gear strap
Shop: Ridge Bottle/Rope Holster -
Rear Ridge Belt Pouch (non-directional, two-way waterproof zipper) → knee pad
Shop: Ridge Belt Pouch
The Platform: Timber Ninja Kunai (Brand-New for 2025)
The Kunai is a 20" billet-aluminum platform (4 lb 10 oz) with a unique attachment method inspired by old-school stands—zero cables, no post, and maximum foot room.
-
20" front-to-back, 16" at the widest, ~14" at the narrowest
-
Glow-in-the-dark tooth caps to protect your pack and keep the teeth covered in transit
-
Hooked strap catch to keep your strap from jumping off
-
Runs perfectly with the SSP XL rope strap that comes with it (or you can use a cam buckle if that’s your jam)
-
Safety back-strap to lock the nose and prevent kick-up if you didn’t fully bite the teeth
Shop:
The Sticks: Timber Ninja C2 (Updated)
I carry four C2 sticks. The main attachment I use is the Universal Stick Attachment (USA)—AMSTEEL with a simple prusik—quiet, light, and fast.
Notable updates from the C1:
-
CarbonTek step (wider, thicker, carbon-blend step for better foot comfort)
-
Glow-in-the-dark end caps for safe footing in low light
-
Same tree-biting standoff geometry, plus new weight-reduction holes
-
Magnetic stackers (I add a touch of Tesa tape to hush the “click” when nesting)
-
“Dog-ear” tie-in points for flexible attachment methods
-
Bottom stick runs a single-step aider (I keep it girth-hitched in the window so it can’t wander)
Shop:
C2 Carbon Fiber Climbing Sticks
Universal Stick Attachment (USA)
How I Put the System On (Fast & Quiet)
-
Step through the bridge and pull the saddle up.
-
Set the top panel just above belt line; snap the magnetic belt closed and tighten.
-
Leg straps on (use them).
-
Bridge short for the climb so it stays out of the way.
Climb Workflow (Safety First—Always Clipped In)
You should never be disconnected from the tree while climbing.
Bottom Stick + Aider
-
Hang the bottom C2 with the USA; I’ll often feed the rope through a hole and back over a dog-ear so it’s bombproof.
-
Toe bites the tree in the aider; I grab the tree, not the stick, to avoid pulling it off the bark.
Second Stick & Up
-
I like to hang the next stick about eye level (it will settle a touch).
-
With the lineman’s rope around the upper lineman’s loops, advance and set each stick the same way.
Platform
-
Position the Kunai to the left or right of your sticks. Run the SSP XL back through the secondary loop placed at the 1 o’clock position, and snug the prusik.
-
Peel back the glow caps on the teeth.
-
Open the post fully, set the teeth, and cam it just past level then up slightly above level.
-
Plant the folding stability spike, cam hard, then clip the safety strap to prevent nose kick-up.
-
Watch this video for a better explanation of how to set this up properly.
Tether & Settle In
-
On the platform, grab the tether from the right pouch, wrap, and set it about chin-to-chest height.
-
Lengthen the bridge to comfort.
-
Hang the gear strap higher than your bow hook spot; I start by placing the bow location first.
-
Bow goes on the hook; pack hangs low (I tie a simple loop in the Amsteel and clip a Heroclip).
Redundancy Tip: If I’m using a mechanical ascender, I tie a little backup stopper loop above it for peace of mind (in addition to the end-stop knot). Also, NEVER disconnect the linesman’s rope until you are clipped into your tether.
Comfort & Shot Execution
-
Use knee pads or a cushion strapped around the tree to lean or take pressure off your feet.
-
Loosen the Duel’s two panel straps to “hammock” when you’re sitting long.
-
The Kunai’s 20" depth makes weak-side shots easier—wrap over the top, press into the tree, and execute.
Final Thoughts
This setup is light, compact, quiet—and most importantly—comfortable for all-day sits. If you’re saddle-curious or dialing in your mobile rig for 2025, the Duel Complete Saddle Hunting Kit is tough to beat.


